
Clean Records With a Vacuum Machine in 7 Steps: Fluid, Scrub, Dwell, Rinse and Two-Pass Drying
Use an Okki Nokki, Pro-Ject VC-S or VPI HW-16.5 to pull dirt out of the groove rather than just moving it around

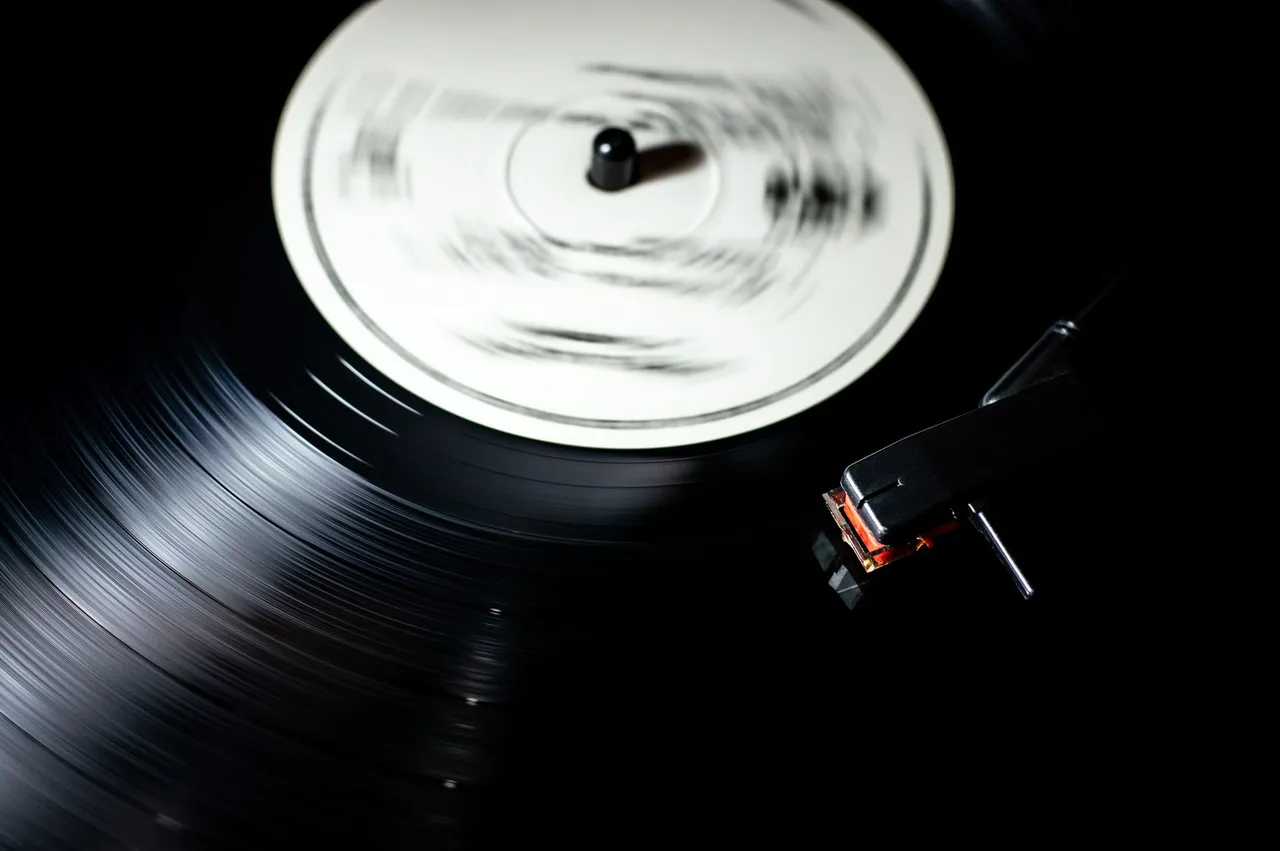
Illustration: a record, as a placeholder for the cover photo.
A vacuum record cleaning machine does one thing a cloth or a hand wash can't do as well: it lifts dissolved grime out of the groove with suction instead of leaving it to dry back in place. The Okki Nokki, the Pro-Ject VC-S2 and VC-E2, and the VPI HW-16.5 all work the same way. Fluid goes on, a brush scrubs it in, and a slotted wand lined with velvet strips sucks it off while the platter turns. The routine below works on any of them.
Before You Start
You need:
- the machine, with its vacuum wand and velvet lip strips in good condition
- a cleaning fluid. Commercial options include MoFi Super Deep Cleaner and L'Art du Son. A DIY mix is roughly 4 parts distilled water to 1 part 99% isopropyl alcohol, plus 2–3 drops of Tergitol 15-S-9 or Ilford Ilfotol per litre.
- a separate bottle of pure distilled water for rinsing
- two goat-hair or nylon application brushes, one marked "clean" and one marked "rinse"
- a carbon fibre brush
- fresh anti-static inner sleeves, such as MoFi Original Master Sleeves or Nagaoka No.102
The Process
-
Dry-brush the record first. Give it a pass with the carbon fibre brush to remove loose dust and fibres. Grit that goes straight into the wet stage gets dragged around by the scrub brush and clogs the velvet strips sooner.
-
Protect the label and apply the fluid. Fit the machine's label clamp. On the VPI, this is the screw-down clamp, and it needs to be tight enough that fluid can't creep underneath. Set the platter turning and run a bead of fluid around the record. On the Okki Nokki and Pro-Ject, you can use the built-in applicator. Aim for full coverage without pooling at the edge.
-
Scrub in both directions. With the platter turning, hold the "clean" brush with light pressure for two revolutions. Reverse the platter, or reverse the brush angle on single-direction machines, for two more. Changing direction gets fluid into both groove walls.
-
Let it dwell. Stop the platter and leave the fluid on for 60–90 seconds. This gives the surfactant time to loosen fingerprint oil and old residue. On heavily soiled flea-market finds, stretch it to three minutes, but don't let the fluid start drying.
-
Vacuum for two revolutions. Lower the wand, switch on the suction and let the record turn twice. One revolution leaves a damp film. Four or more just builds static and dries the strips against the vinyl. Lift the wand before you switch the vacuum off, so any drips stay in the tube instead of landing on the record.
-
Rinse with distilled water and vacuum again. Apply plain distilled water, spread it with the "rinse" brush for two revolutions, then vacuum for two more. This removes leftover surfactant and alcohol, which can otherwise leave a faint haze and a low-level hiss on playback. Skip this step only if your fluid's maker specifically says it needs no rinse.
-
Flip, repeat and re-sleeve. Clean side B the same way, using a clean area of the platter mat or a dedicated drying mat. The VPI cleans one side at a time, so the side you've just cleaned sits face-down on the platter cork. Make sure that cork is dry first. Put the record straight into a new inner sleeve. The old paper sleeve is full of the dust you've just removed.
Machine Maintenance
- Empty the waste tank after each session. Stagnant fluid smells and can grow mould.
- Rinse the application brushes in distilled water and let them air-dry with the bristles down.
- Check the velvet lip strips every 50–100 records. Replace them when they look flattened or grey.
Worn velvet strips are the most common reason a machine starts leaving streaks or wet patches near the run-out. Before you blame the fluid, run the wand over a scrap record. If a damp line follows the strip, replace the strips. They're cheap, and on most machines they peel off and stick on in minutes.

Samantha "Sam" Hayes
Audiophile Equipment & Budget Setup Advisor
Sam bridges the gap between high-end audiophile gear and everyday budget collecting. A tech consultant by day, she tests affordable turntables, preamps, and headphone setups to help beginners get the richest sound possible without breaking the bank.


Comments (0)
No comments yet. Be the first to share your experience.